Use this page to learn how provide audio recordings on an iPad.
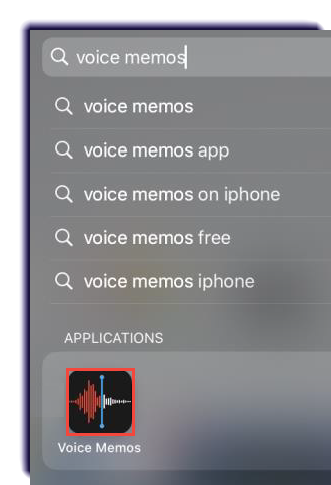
- Open Voice Memos.
Note
This is the native audio recording app that came on the iPad.
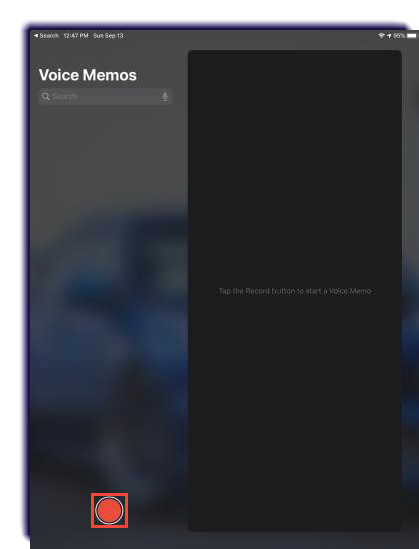
- Tap the Record button and begin speaking.
- When speaking, the image will look like something similar.
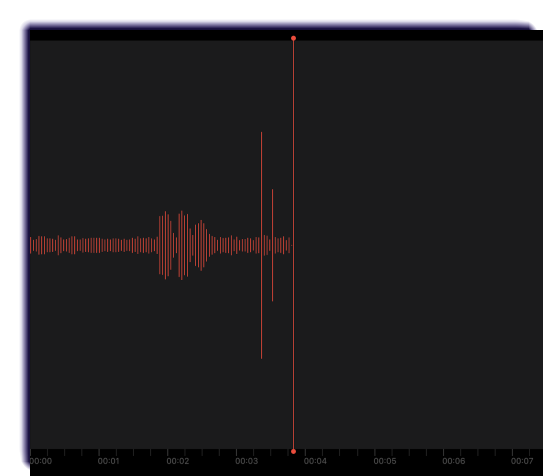
- Click Done when finished.
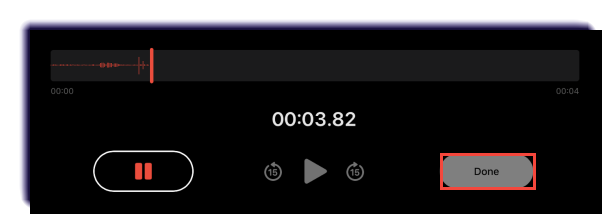
Utilize Pause if a temporary stop is needed.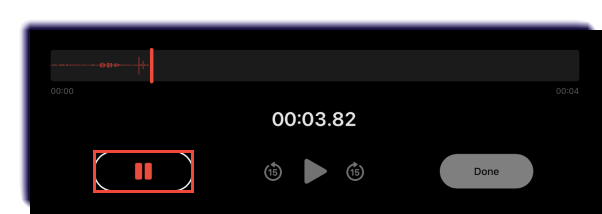
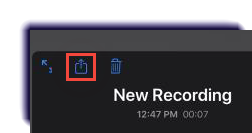
- Click the Share icon
 .
.
- Click Save to Files.
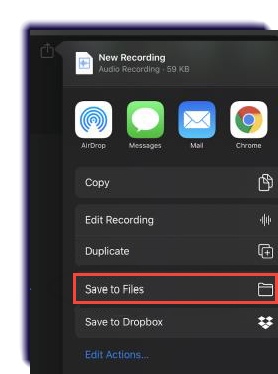
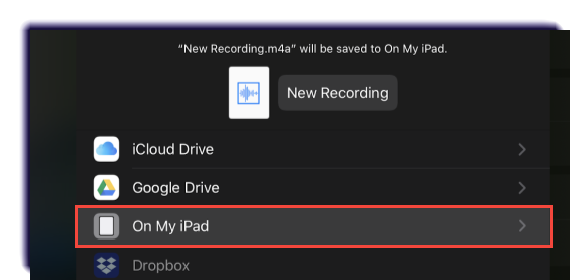
- Under On My iPad, select a place to sav the file.
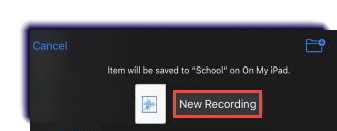
- Click New Recording to rename the file.
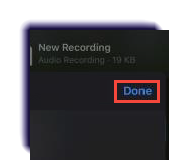
- After renaming, click Done.
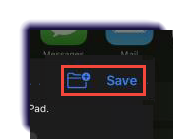
- Click Save.
- Navigate to the assignment submittal page in the Buzz LMS.
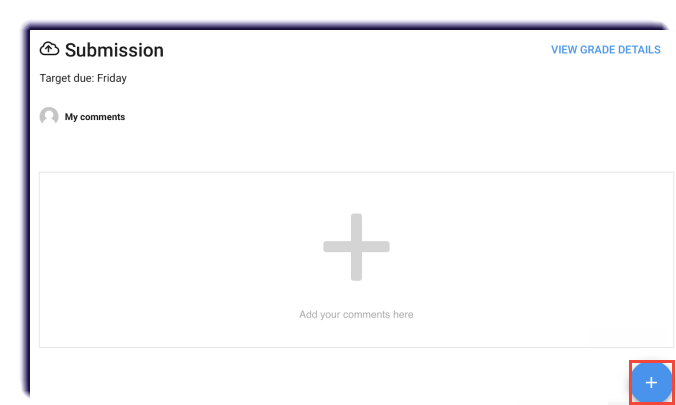
- Click the + icon
 .
. 
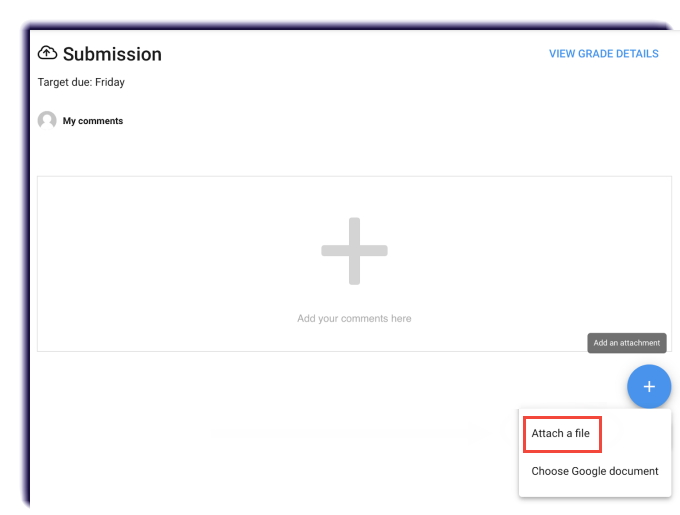
- Select Attach a file.
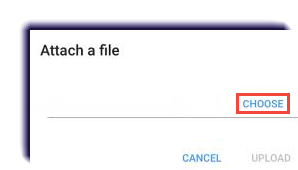
- Click Choose.
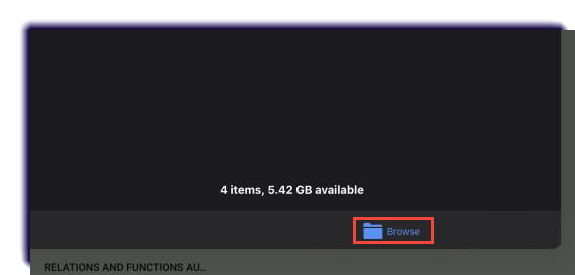
- Select Browse.
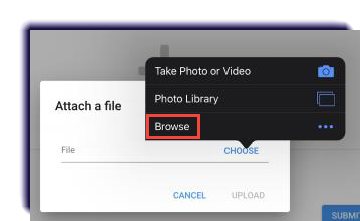
- Click Browse.
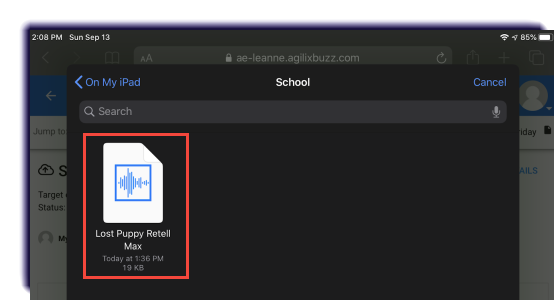
- Find the folder storing the recording.
- Select the audio recording.
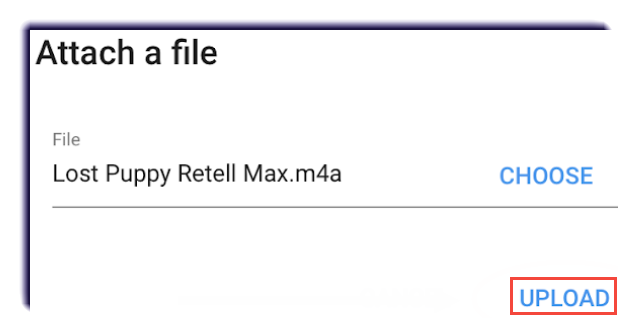
- Click Upload.
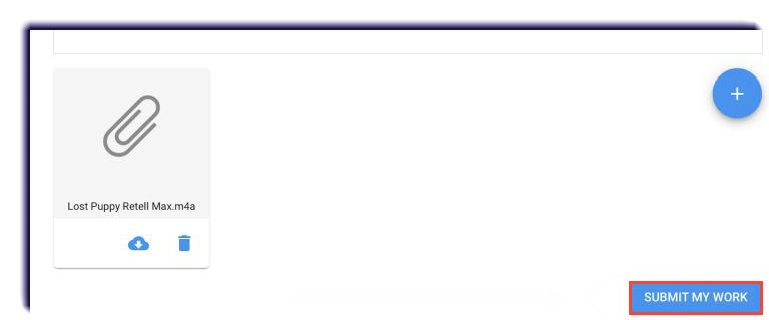
- Click SUBMIT MY WORK.
