Use this page to learn how to upload an external file into a student's account.
- Click Students.

- Filter to find the student and click Get Data or enter the student's name in the search bar.

Tips
If the student list is longer than 1000 students, use the filters to narrow down the list first.
- Click the student's name.

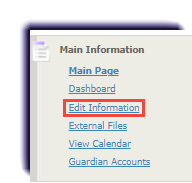
- Click Edit Information.
Note
If a student's account has already had identifiers selected on their account, jump to step 7.
- Under Additional Information, select Yes to the appropriate identifiers.

- Click Save.

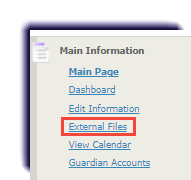
- Click External Files.
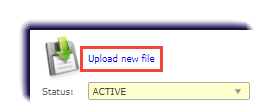
- Click Upload.
- Select the file.
- Enter a Description. The naming convention should be SES - (Type of Doc- IEP/504/ELL/Other) For (Student initial and last name). For example, SES - IEP for Z. Turner.
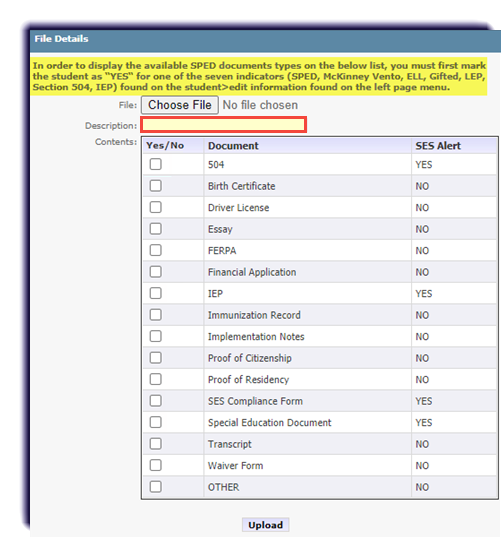
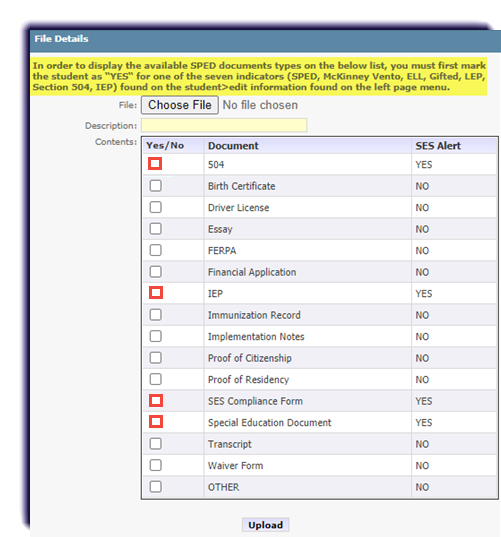
- Checkmark the document type, if available. The items will appear based on the selection(s) identified in step five.
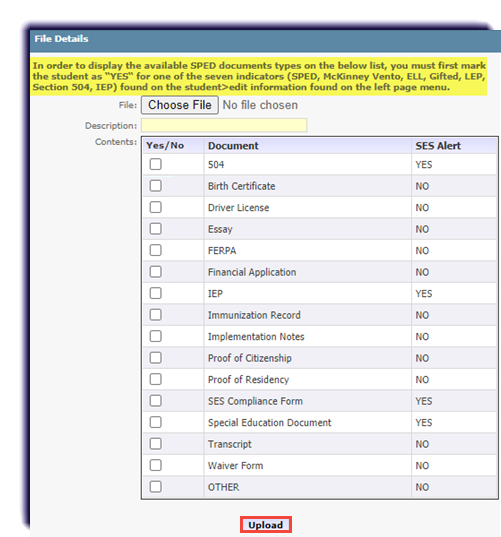
- Click Upload.
- Click External Files again to verify the document was uploaded successfully

- Select Edit Information.

- In the Notes section of Basic Information, type the following in this format: Date of Entry, brief explanation, student's first initial and last name. For example, 7/31/2021 IEP uploaded for Z. Turner.

- Enter any additional information. Ensure the student's Address, Contact Information, Academic, and Guardians sections have the required fields entered. Required fields appear in yellow.
- Click Save.
